The process outlined below is correct for most systems at the time of writing – if you encounter issues and need further support, you can contact us via Whatsapp ![]() . Please be patient, as it is a service provided for our customers at some expense and is not manned 24/7 – though we will always get back to you as soon as we practically can, for the best response provide as much information as possible, for example the issue faced, the model of the PC/Laptop etc.
. Please be patient, as it is a service provided for our customers at some expense and is not manned 24/7 – though we will always get back to you as soon as we practically can, for the best response provide as much information as possible, for example the issue faced, the model of the PC/Laptop etc.
🔧 What You Will Need:
- Your Repair & Diagnostic Repair USB drive
- A PC or Laptop
📁 Step 1: Prepare Your Computer
Tip: Some machines will boot from USB automatically – it is worth inserting the USB stick, powering on the PC and seeing if it boots without changing settings first.
- Plug in the USB drive, use the back panel USB ports if possible (this can often avoid driver errors)
- Power on the PC, and immediately start pressing the key to enter the boot menu or BIOS/UEFI settings.
Common keys includeF12,F2,DEL,ESC, orF10. This depends on your PC’s manufacturer. - In the boot menu, select the USB drive to boot from. If there is no boot menu, go into the BIOS/UEFI and change the boot order so that the USB drive is first.
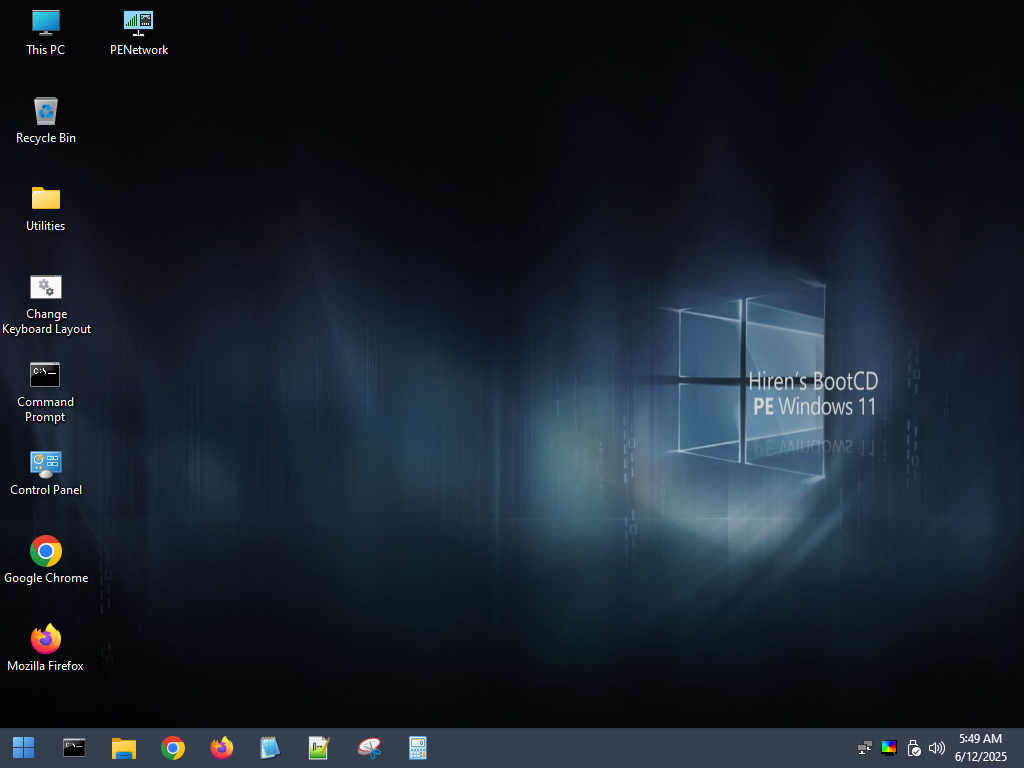
💿 Step 2: Wait for Hiren’s BootCD environment to load
This may take 8 to 10 minutes on some machines, you will see the screens below:


✅ Done!
You can now use the various tools and utilities available within Hiren’s BootCD to perform tasks such as:
🔧 System Recovery & Repair
- Fix unbootable Windows systems
- Repair boot files, MBR, or BCD using tools like BootIce and EasyBCD.
- Repair Windows System Partition Boot Sector.
- Repair Windows System Partition Boot Sector using Lazesoft Windows Recovery.
💾 Data Recovery
- Recover deleted files or lost partitions
- Use Recuva, TestDisk, Puran, or Lazesoft Data Recovery to restore lost data.
- Backup important data before reinstalling OS
- Copy data to external drives using the file explorer or third-party file managers.
🧰 Disk Management
- Partition management
- Use AOMEI Partition Assistant, EaseUS Partition Master, or DiskGenius to create, delete, resize, or clone partitions.
- Clone or image disks
- Use Lazesoft Disk Image & Clone or AOMEI Backupper for cloning or imaging full drives.
🛡️ Malware Removal
- Remove persistent malware
- Scan and remove malware using ESET Online Scanner, or McAfee Stinger – Booting from Hiren’s ensures the malware isn’t active, allowing for manual deletion and registry edits.
🔐 Password Reset & Account Management
- Reset Windows passwords
- Use NT Password Edit or Lazesoft Password Recovery to reset or change Windows local user account passwords.
- Enable disabled accounts or change account types
- Use Windows Login Unlocker to reenable disabled or locked out accounts.
🖥️ System Diagnostics & Testing
- Check hardware health
- Tools like HWiNFO, CPU-Z, GPU-Z, and CrystalDiskInfo help diagnose hardware issues.
- Stress test or benchmark hardware
- Run CPU, RAM, or disk benchmarks to test for stability or performance issues.
- Disk testing
- Run Victoria for HDD/SSD diagnostics.
💡 Bonus Use Cases
- Securely wipe disks before recycling or disposal (e.g., HDD Low Level Format Tool).
- Test different boot environments (UEFI/Legacy) using boot management tools.
- Retrieve Windows product key using ShowKeyPlus
- Create Windows Installation media using Rufus and the included ISO files
📝 Important Note:
Persistence: The Hiren’s BootCD environment is reset each time you boot – files saved to the USB drive itself will remain but changes made within the bootable Windows 11 PE environment such as desktop personalisation and software installs will not.